Goal
Control which account members can see completed envelopes and their data.
Process
By using a combination of Groups and Permission Profiles, you can control who sees your completed envelopes and the data collected within them. Groups and Permission Profiles are standard DocuSign administrative tools.
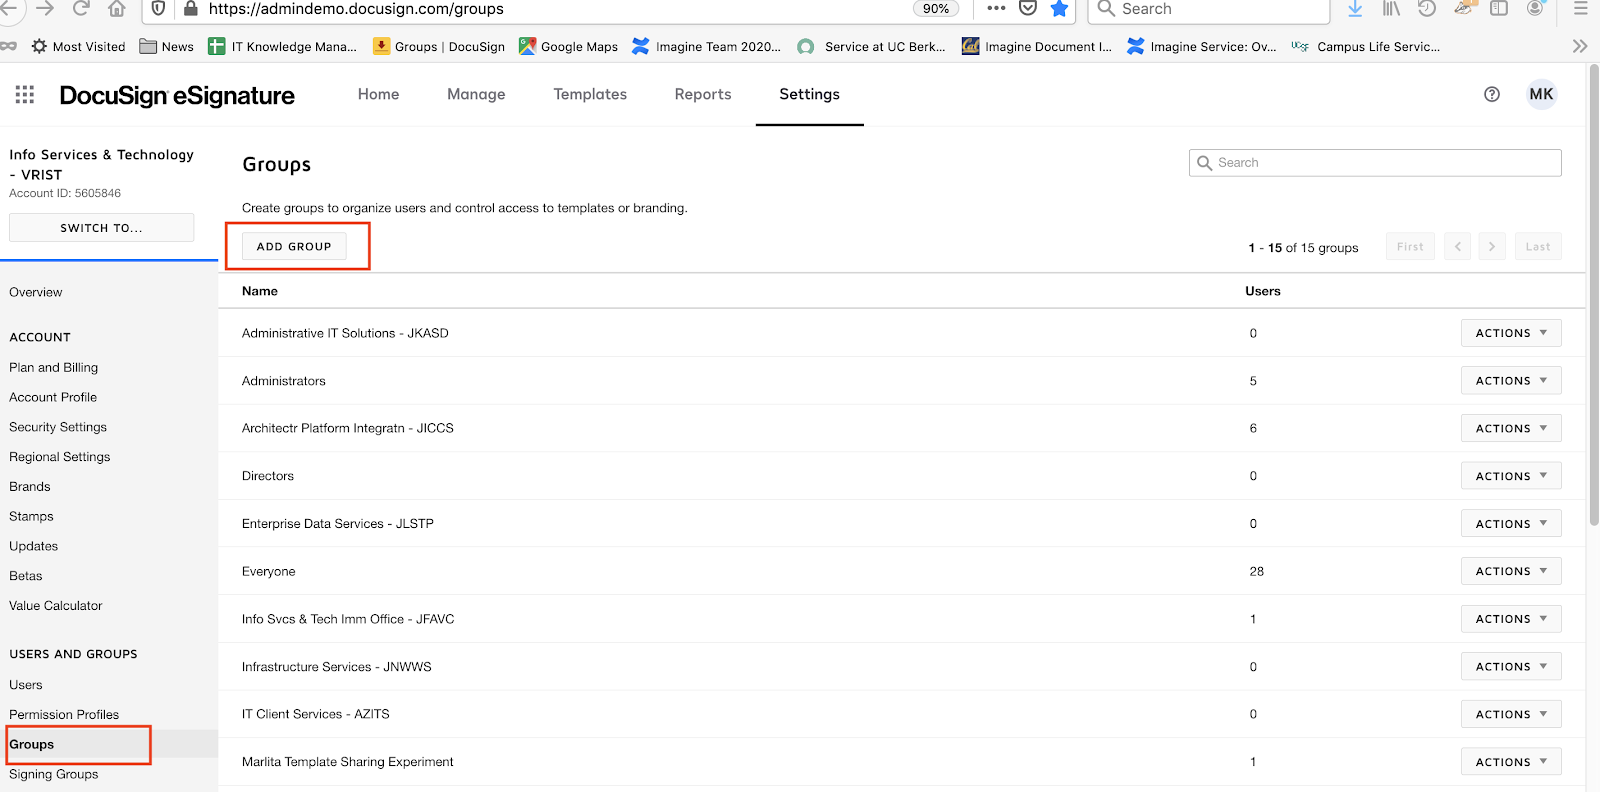
1. Create a Group and add the users who should have access. Go to:
- Settings
- Groups
- Add Group
- Name Group
- Choose Create
Note: Screengrabs are taken when the browser window is full-size.
Narrowing the browser window might change what you see.
2. Create a Permission Profile with the appropriate permissions to support your workflow.
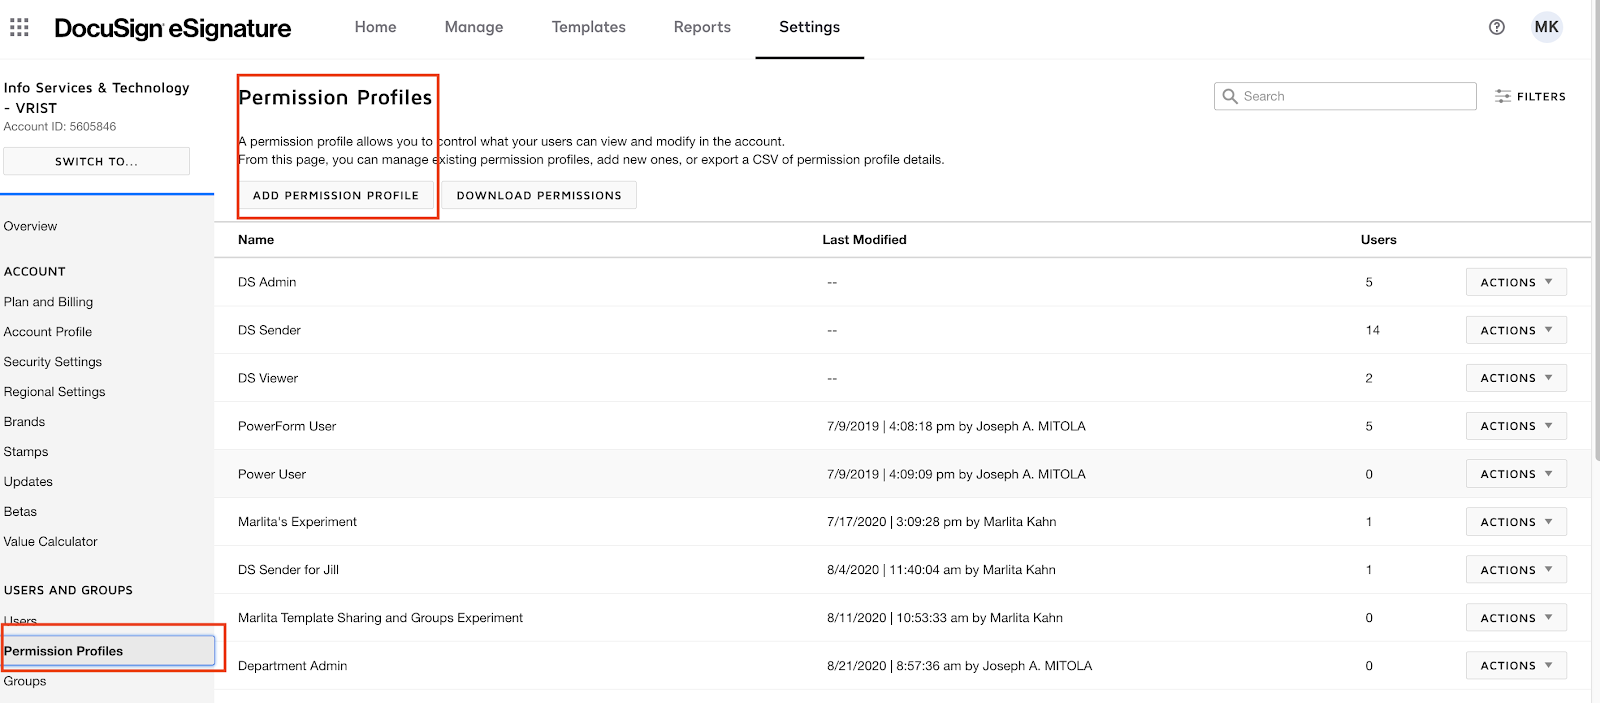
- In DocuSign eSignature Admin, click Permission Profiles.
- Click ADD PERMISSION PROFILE.
- Begin by using the Actions drop down Copy function and copy the DS Sender Permission Profile, giving it a new name and then customizing it. Do not begin with an entirely new Permission Profile, the extra work is not worth it.
- Enter a Name for the permission profile.
- Adjust option settings as needed. See the Permission Profile Descriptions below for information about each setting option.
- To finish and add the permission profile, click ADD. The permission profile is added to the account.
3. Assign the Permission Profile to the Group’s users (Note: a user can only be assigned one Permission Profile)
- Under Permission Profiles, find the Permission Profile you want to assign users to then choose View Users from the Actions menu on the right.
- Add users following the prompts for email address, etc.

4. Share the appropriate template(s) with the Group.
- Navigate to the Templates page.
- Locate the template you wish to share by searching, filtering, or simply scanning your My Templates list.
- Mark the check box for the template to select it. You can select multiple templates to share at once.
- Click MORE and select Share with Users.
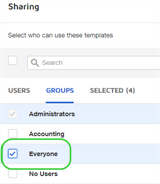
- The Sharing dialog opens for you to select the users and groups to share your template with.
- Make your user and group sharing selections - the Search function returns results for the selected tab:
- USERS - lists all users on your account.
- GROUPS - lists all groups defined for your account. Groups are listed by name only; group members are not displayed. The list includes standard account groups of Administrators and Everyone. By default, all templates are shared with the Administrators group and this cannot be changed. In addition to the standard groups, your DocuSign administrator can define customized groups of account users and can provide further details. Learn more...
- Tip: To easily share your template with everyone in your account, on the GROUPS tab, select Everyone.
- Tip: To easily share your template with everyone in your account, on the GROUPS tab, select Everyone.
- SELECTED - all users and groups that are selected for sharing. Use this tab to verify your selections and make any necessary changes.
- Click SHARE.
The Template Details view updates to indicate the template is now shared. You can always check to see whom it is shared with and make changes to the sharing selections.For the people you have shared the template with, it appears in their Shared with Me and All Templates folders on their Templates page.
Recommendation: put all the templates you want to share in a custom folder and then share the folder to the Group. This eliminates having to share each individual template. The templates in the folder will automatically inherit the permissions of the Group.
- Navigate to the Templates page.
- Locate the template you wish to share by searching, filtering, or simply scanning the Template list, and mark the check box to select it. You can select multiple templates at once.
- Click and hold on any selected template row and drag the templates to the shared folder you want to add it to.
- Release the mouse button to drop the templates into the folder.
The templates are shared and accessible to anyone whom you selected to share the template folder with.
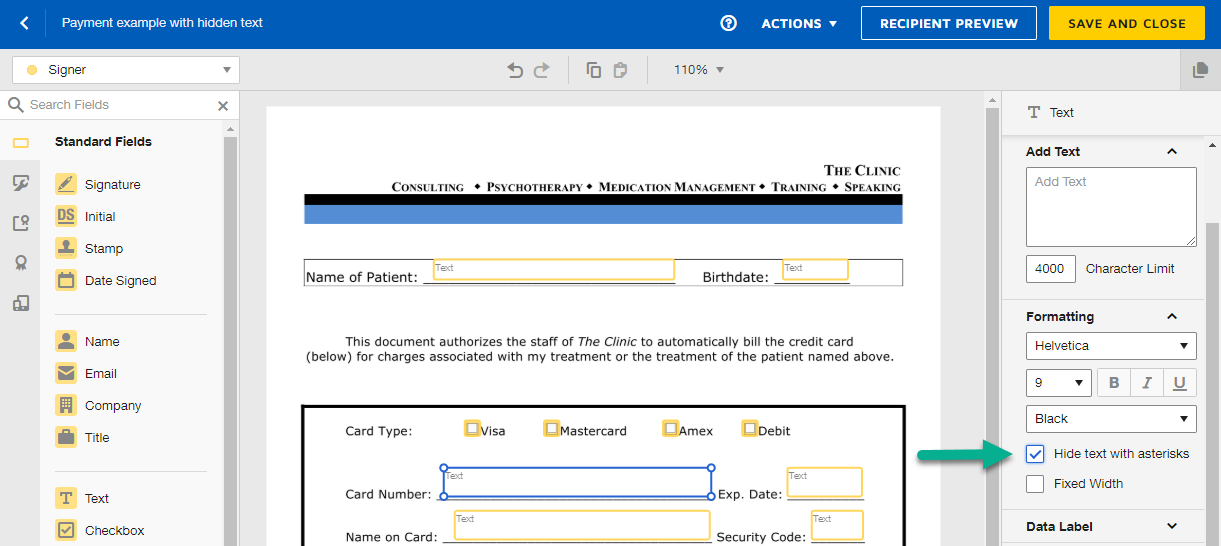
- Recommendation for Extra Data Security: for any template field that has sensitive information, when you are creating the template, mark that field as restricted:
- In the formatting options check “Hide text with asterisks”.
- Then, when someone views the envelope, the information in that field appears as asterisks. The actual information will be visible in the Form view or when downloaded as a csv form.


How to hide text
- In an envelope or template, you can set a property on any Text field to hide the field data. In your envelope or template, place a text field on your document.
- Select the text field to open the properties panel.
- Expand the Formatting section.
- Mark the formatting option Hide text with asterisks.
- (Recommended) In the Data Label field property, replace the default value with a meaningful name. For example, "Card Number". This label is used to identify the hidden field data when you view or download it later.
- Finish adding the rest of your recipient fields and send your envelope or save your template as usual. Any data entered in the text field will be replaced with asterisks. The data will be concealed in the signing session and on the in-process and completed PDFs. The sender can view or download the form data for the envelope to reveal the hidden data.
What recipients see
When a recipient signs a document that includes a text field with the hidden text property applied, they can see the data as they enter it into the field. Once they navigate to another field, the information is hidden, replaced by asterisks ("*"). If they go back to the field, their entry is revealed until they again navigate away from it. Once the recipient finishes signing, the data remains hidden on the document.

The hidden text is concealed from other envelope recipients, both in the signing experience and on the completed PDF when viewed or downloaded. Hidden text can only be retrieved by viewing or downloading the envelope form data.
Who can access envelope form data and view hidden text values?
Generally, only the sender of the envelope has access to envelope form data. However, there are a few cases where other users can view form data:
- Recipients who are full administrators on an account can view form data for any envelopes sent to them from another account member.
- If the envelope is transferred to another account member, that member can view the form data.
- If the sender's envelopes are shared with another account member, whether or not they are an admin on the account, that person can view the envelope form data when viewing the shared envelope.
How to access data entered in hidden text fields
Envelope form data includes all envelope data, including values entered in hidden text fields. An envelope's form data is accessible to:
- the sender or current owner,
- an account member with shared access to the envelope,
- any full admin who is also an envelope recipient.
- From the Manage page, locate the envelope with the hidden text data that you want to access.
- Click the actions menu for the envelope and select Form Data.
- In the Envelope Form Data dialog, you can view all envelope data, including values for any hidden text. You can also download or print the form data.

Caution: the Account Administrator will be able to see everything - as is standard situation for all application administrators no matter what the application is