2.0 - Last modified on 2022-08-31 Revised by Melanie Green
1.0 - Created on 2014-12-09 Authored by Tanya Jansen
* These instructions work for Windows Vista, Windows 7, and Windows 8.x.
Modern laptop computers have more than a few ways to toggle the projection setting to display image on projectors or LCD monitors. Most models can automatically detect external monitor connections and start sending signal to it. However it is also important to know how to adjust the settings to have more control over what content is shown to presentation attendees.
We will go over 2 of the most common options in this article.
Projection Settings
Most laptops has follow 4 different projection settings:
 |
|
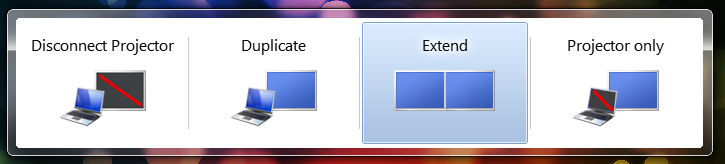
Disconnect Projector
- Only laptop monitor is showing. This option is the default setting when there is no other display source connected to the projector. Choose this option if you want to purposely disconnect laptop from the projector.
Duplicate
- Also known as Clone Display. Duplicating laptop monitor content to the projector. Audience will see exactly what presenter sees.
Extend
- Projector and LCD monitor is served as a secondary screen, creating more screen real estate. Presenters like this setting to prep content in advance on the laptop screen, and move it to the secondary display when ready.
Projector Only
- This option is often used when trying to project movies when laptop screen can create glare to the projected image.
|
Using Microsoft Hot Key
Microsoft has a built in hot key feature for toggling between projection settings.
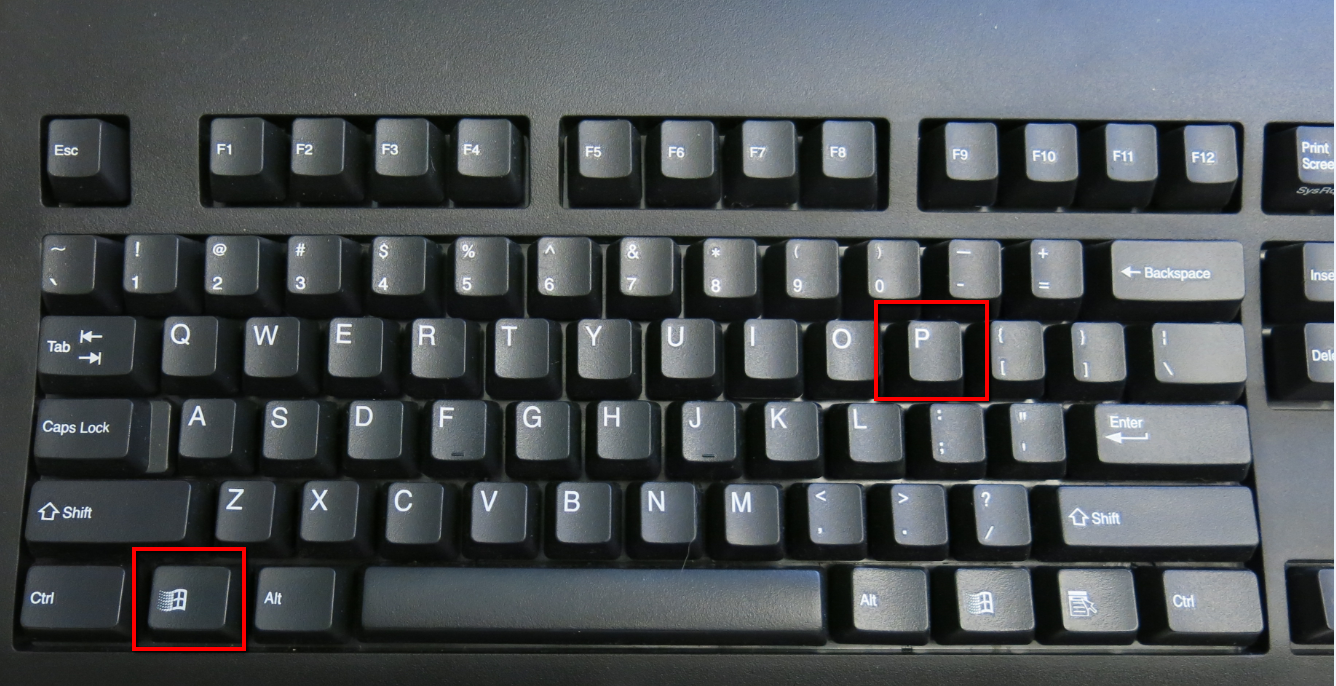 |
- While holding down the Windows Logo key, Press P key once. A menu like above image should appear (Windows 8 user: similar panel should appear on the right side of the screen).
- Continue holding the Windows Logo key, press P repeatedly until the desired option is selected,
OR
- Release the Windows Logo key, click on the desired option with mouse cursor.
- Depending on the computer speed, it may take up to 10 seconds for the laptop screen to refresh and video signal be sent to the secondary monitor.
|
Setting Display Properties Manually
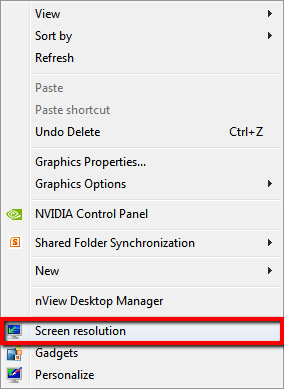 |
- Using your mouse cursor, right click anywhere on the desktop and select Screen resolution. A window should then pop up.
|
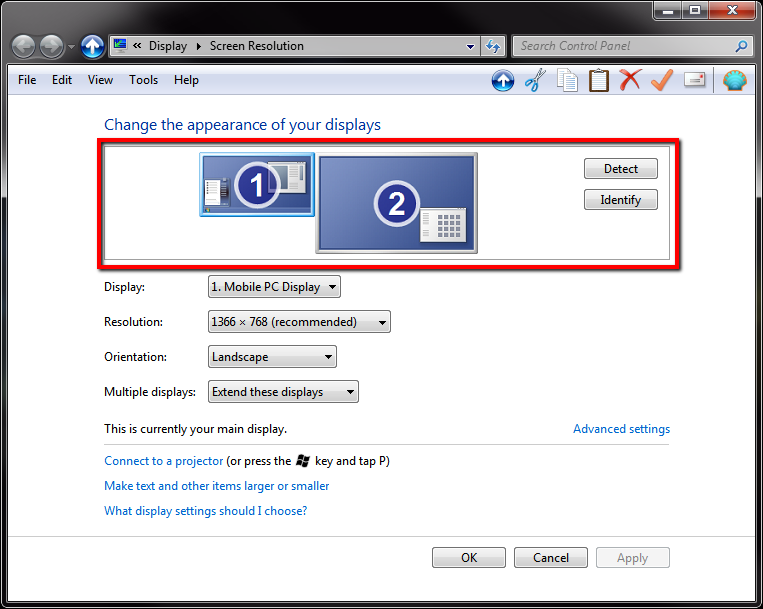 |
- The first box (see image left) shows how many screens your laptop detects. Your laptop screen is typically screen 1, and extended screen being screen 2.
If Duplicate option is enable, you should see the some more like the image below:
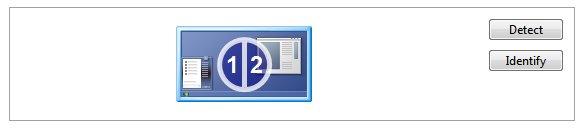
- Press Detect if your laptop did not automatically detect the external display
- Press Identify if you need help figuring out which screen is your laptop screen
|
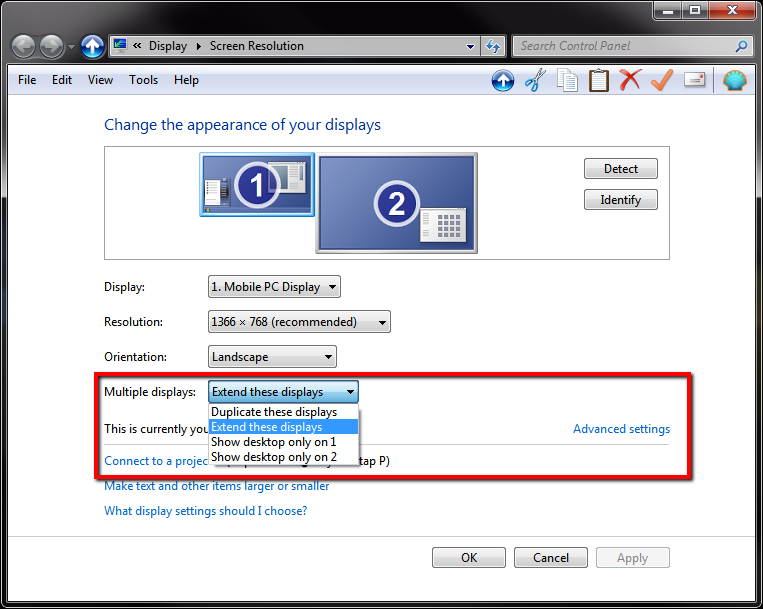 |
- Expanding the Multiple displays menu, you should see the four display functions
(Assuming your laptop is set to screen 1)
- Duplicate these displays (screen 2 will display what screen 1 is showing)
- Extend these displays (screen 2 will act as extension to screen 1, providing more screen real estate)
- Show desktop only on 1 (disconnect external dispaly and only show laptop screen)
- Show desktop only on 2 (turn off laptop screen and only show content on external display)
- Select the desired option and press OK to commit to change
|
If you are still experiencing issues connecting to the classroom projector please feel free to contact Classroom Technology front desk at 510-643-8637.