|
This guide will walk you through how to connect a Chromebook to ETS supported Black Box equipment system. The actual procedure may be different depending on the model of your laptop. In this guide we used Dell Chromebook 11 P22T with 1 HDMI port
|
| |
|
Setup the Physical connection
|
- Follow the instruction on touch panel to turn on the projector system. In this case we will be pressing Laptop HDMI button to turn on the projector.
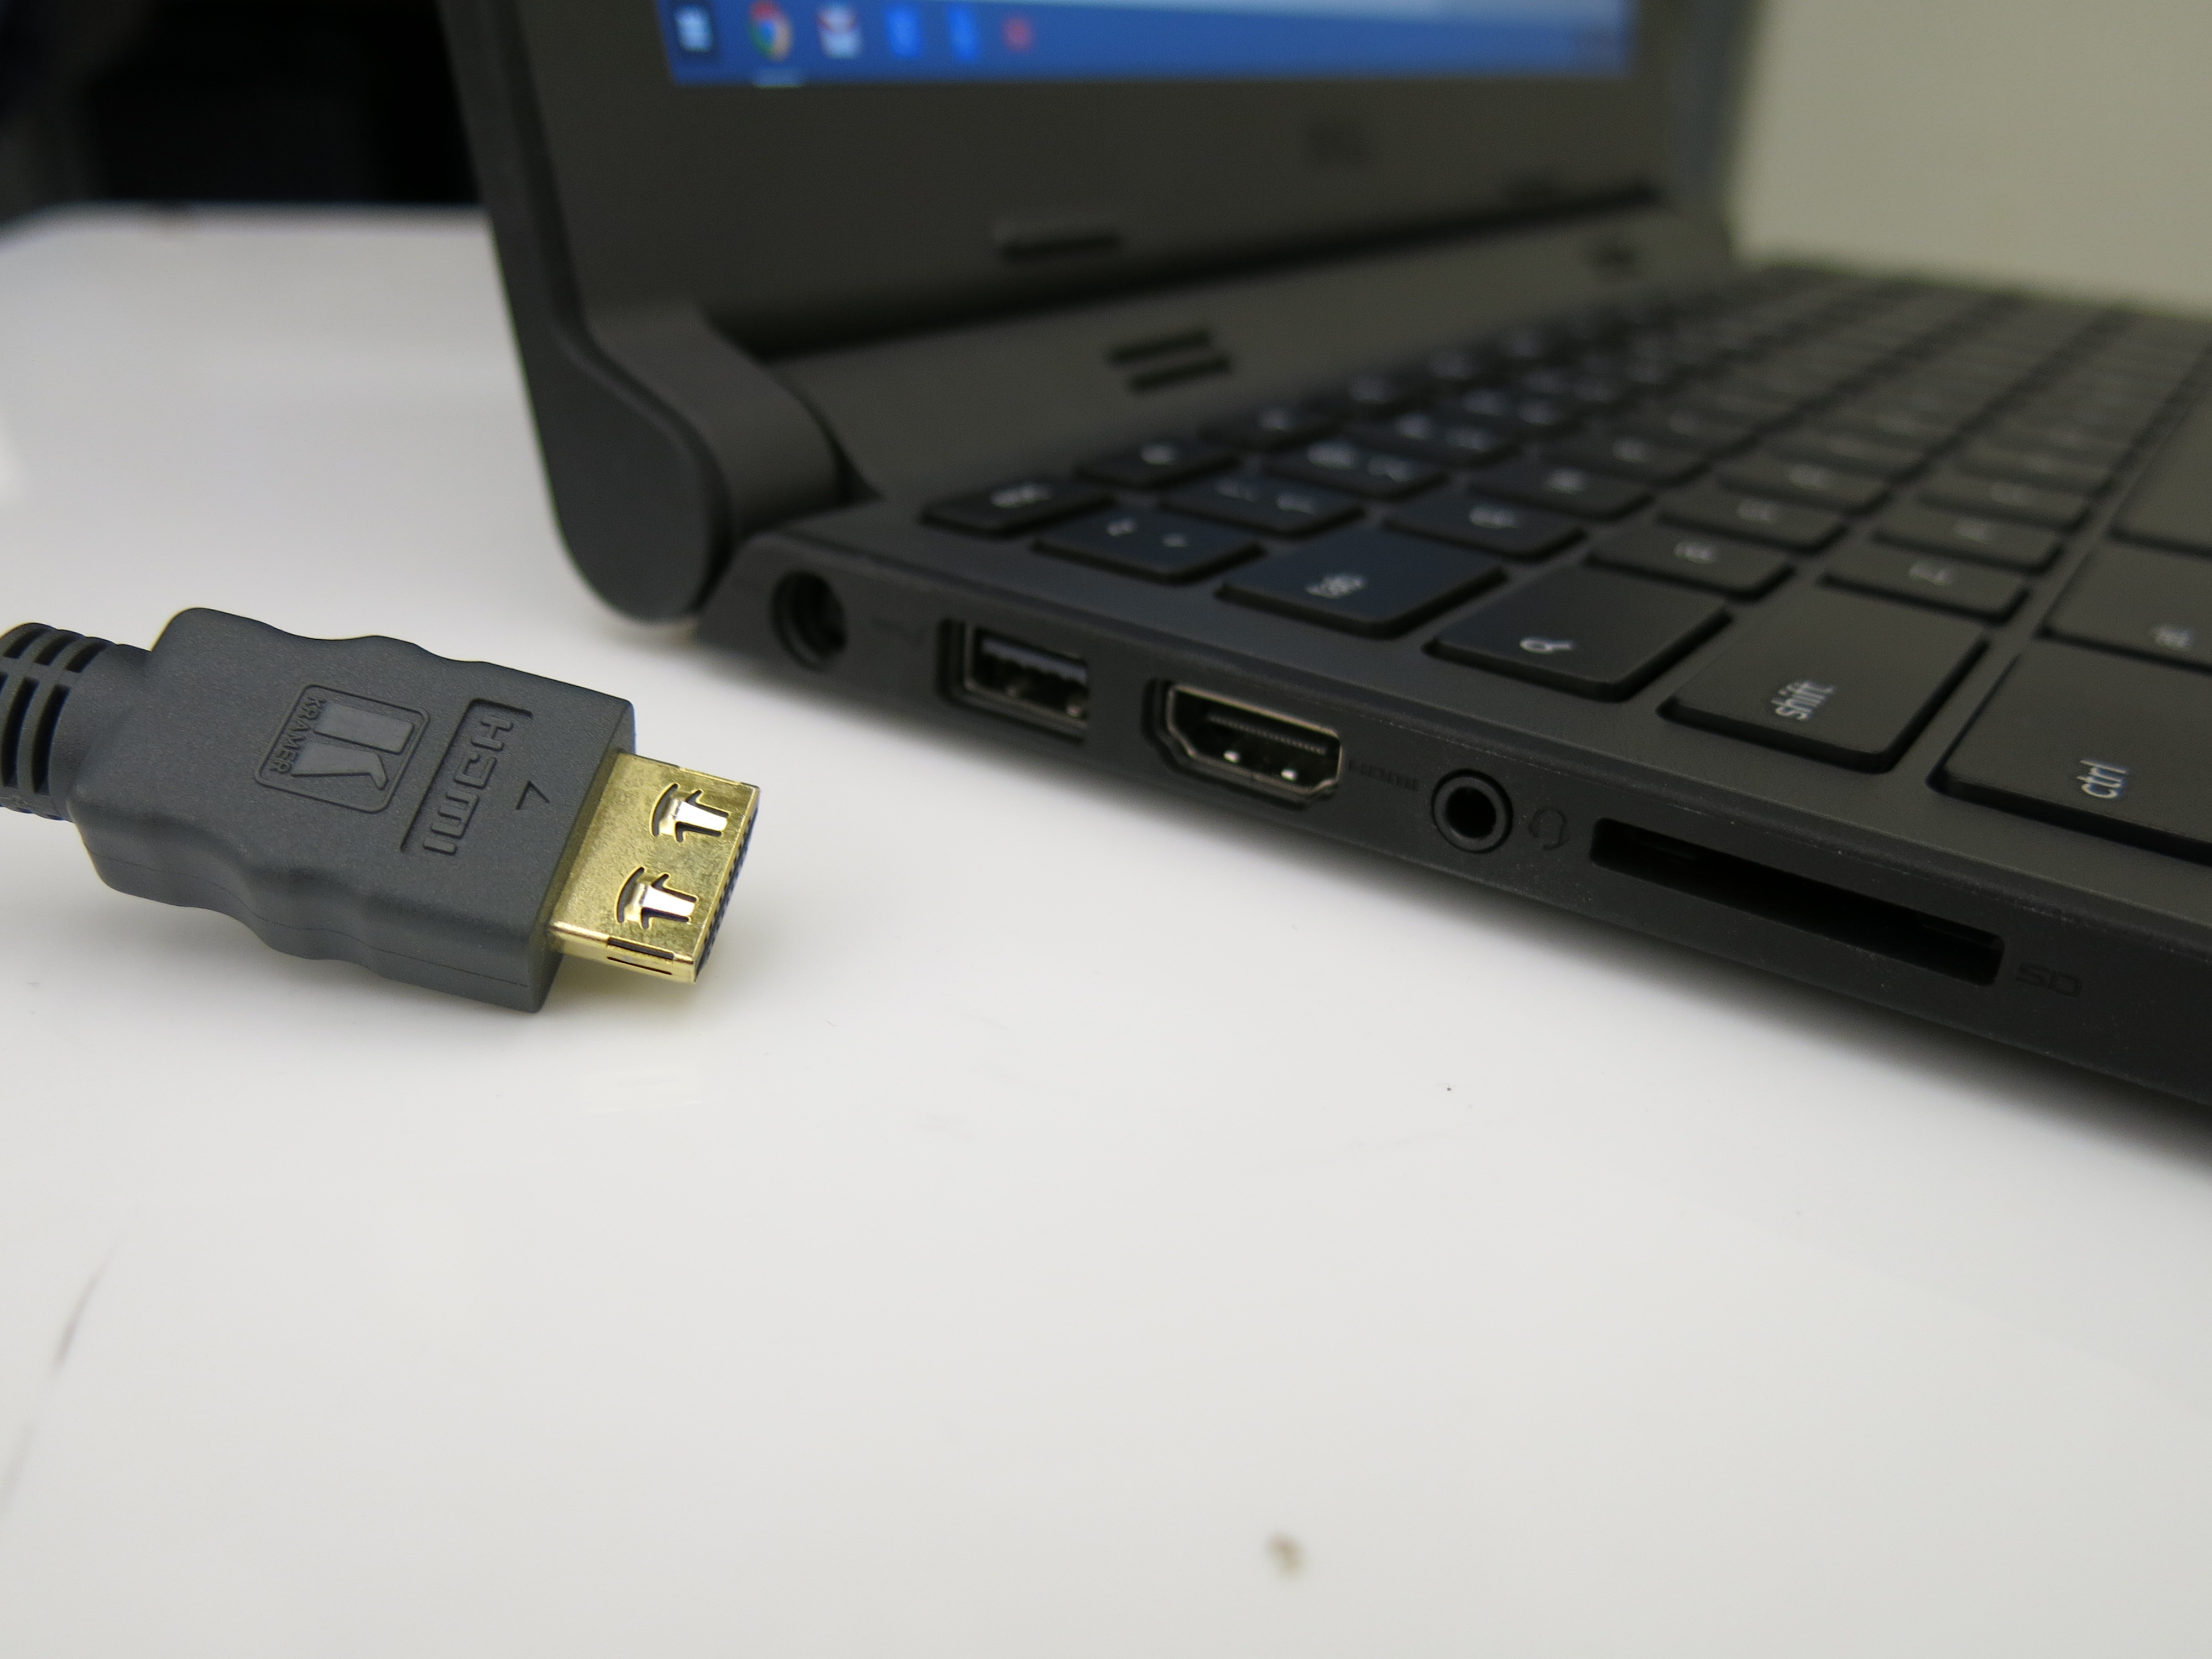
- Locate the HDMI cable near the black Box.
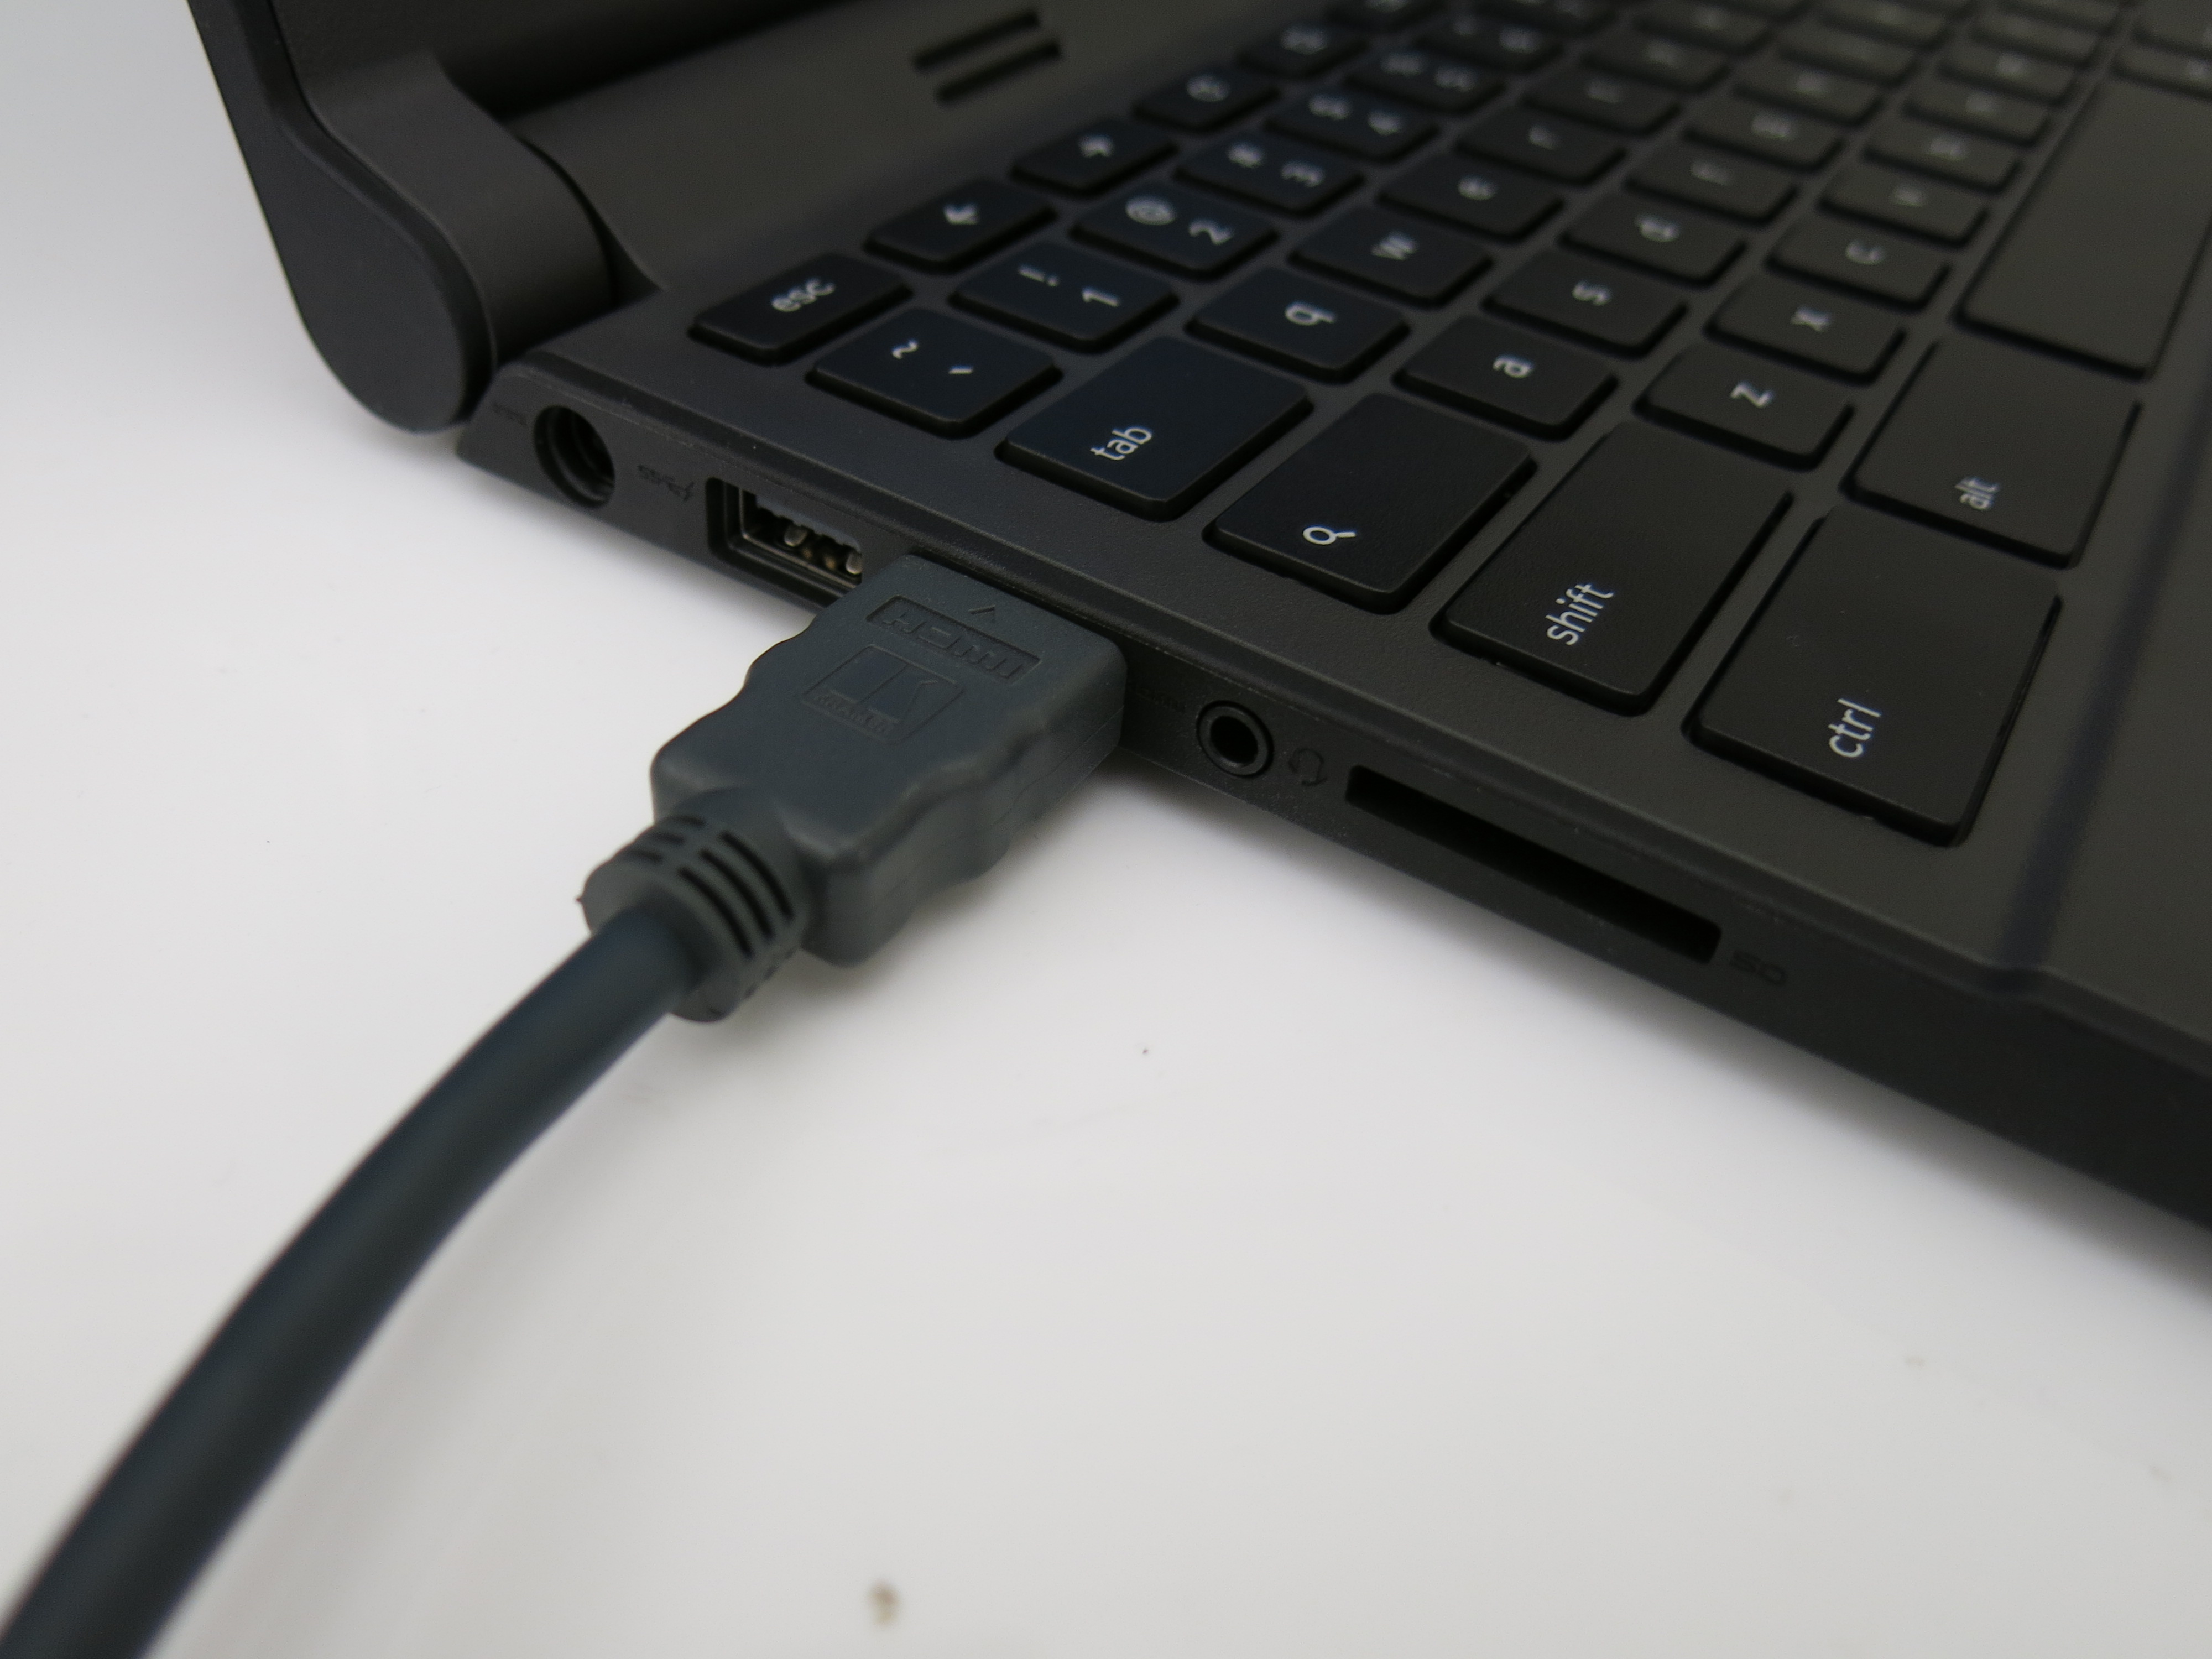
- Connect the cable to your laptop's display port.
Note: Depending on the model of your computer an adapter may be needed. Please contact your laptop manufacturer for more information about what adapter you will need.
|
| |
|
Toggling the Settings
|
|
In most cases your Chromebook will start projecting automatically. However, if it doesn't, then you may need to do some toggling manually change the display preferences.
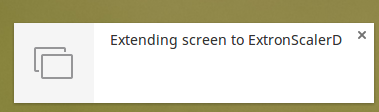
- Press the following keys simultaneously to manually enable Mirror Projection (Duplicating your laptop screen to the projector); pressing it again will change display preference to Extedned Projection (projector image will serve as an extension of your laptop display
 + + 
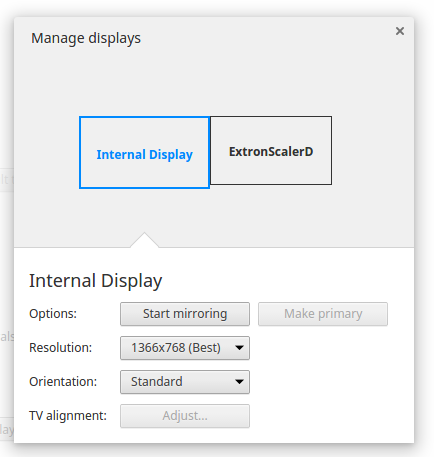
- A small pop-up message will be shown on the lower right corner. Clicking on that message will get you to the Manage Displays window.
- In the Manage Displays window you can select Mirroring or Extending projection by clicking on the Start Mirroring button
|
| |
| If you are having difficulties following the instruction on this page or needing additional assistance, please contact the Classroom Technology Service team and schedule a one-on-one Equipment Consultation. For all other general questions and feedback, you can email directly to etssupport@berkeley.edu. |